Introduction
I have been working as a backend software engineer for about 6-7 years. Lately I had a need to port my startup to a mobile platform (right now it is only a web Single Page application). After analysis I realized that my choice would be React Native.
Since I’m quite new to mobile development, I spent about 3-4 days setting up a simple project that has 3 tabs with Google Auth. This guide will be helpful for newbies to quickly understand the basics of React Native and development flow with it.
In this article I will show how to set up everything you need for developing your mobile application for both Android and IOS, and explain how it works and why we chose this or that tool for it. More precisely, I will create a simple React Native app using a managed workflow and run it with Expo Go and without Expo Go using Android studio and XCode.
Our flow and tools
React Native
For sure we are going to use React Native. It is a framework that allows you to develop Mobile apps using approaches and practices that you typically use in React. This is the best choice for you if you already have some experience with React.
Instead of HTML you are going to use special components that will be transformed to Native components (Android / IOS depending on the platform). However the flow and structure remain the same: you have components, hooks, state management, contexts, etc as you have in React.
Expo
Right now the official documentation suggests using Expo. Expo is a framework that helps you to build and develop applications with React Native, even more, it helps to deploy your application in their cloud.
As a newbie I would suggest using Expo from the start. For me the less I am busy with native code and stay with JS - the better and easier for me. Expo is abstracting from native code pretty well.
However the Expo itself has different workflows which is confusing for me at first glance.
Expo Go
Once I created a simple React Native app using Expo CLI and launched it, I saw that I can scan QR code and open it in Expo Go mobile app. It works in the way that it loads all necessary binaries that I have, while my React Native app is running, to my mobile device giving me the ability to use the app on my phone. No USB, no native build, nothing. This is the best development experience I have ever had with mobile apps.
Unfortunately, most probably for your app you would not be able to use it.
Expo Managed workflow vs Expo Bare workflow vs Pure React Native
For mobile development newcomers I would suggest using Expo Managed workflow.
This is one of the most important things to understand. Without the Expo framework you have only one choice for running your application: the pure React Native approach, which is to build native binaries, and run these binaries from native tools (XCode, Android Studio, emulators or physical devices). Let’s call it React Native workflow.
Another way to do it is using Expo Bare workflow. This still gives you Expo tools and services that you can use in your project, but you have to deal with native code. So to run the app you again need XCode, Android Studio with emulators or native devices.
The third and recommended way is Expo Managed workflow. This is the workflow, where Expo takes care about native code, and you only deal with JS. The biggest benefit here is an ability to use Expo Go application to run the code. With Expo Go, you don’t need emulators, Android Studio or XCode, but just installed Expo Go on the device.
However, you still can build native binaries and run them with XCode/AndroidStudio even with managed flow.
Expo Go is not Expo and not Managed Workflow
I thought that Managed workflow is the only way to use Expo Go to debug and run app, and without it I would need to switch to Bare Workflow. However you can have a Managed workflow that is not able to run in Expo Go, because of native modules (Google Sign In).
Important note: you can use Expo Go only if you have Expo Managed Workflow and no custom native code.
Forget about using Expo Go
As was said before, some libraries require custom native code, for example react-native-google-signin
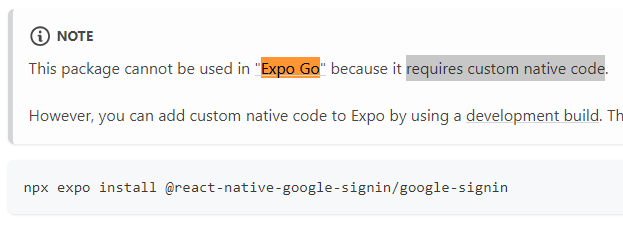
So we will be running a project without Expo Go, so you have a way to use such libraries.
Create Project
My recommendation is to create a React Native application with Expo, using Managed Workflow. Basically, you could follow official documentation.
npx create-expo-app AppName --template
This command will create a project called “AppName” and you will be prompted to choose a template. Go for Blank template
You already can run it with Expo Go using npx expo start
But lets run it without Expo Go due to reasons mentioned above.
To run and debug applications without Expo Go we beed to use Development build and for that we need to install expo-dev-client . There is official documentation about it.
npx expo install expo-dev-client
Then we need to build native binaries
npx expo prebuild or npx expo prebuild --clean
After this you will see android and possibly ios folders with native binaries in the root of the project. These 2 can be run using native tools.
Run Android build
This guide is used for Windows. But in a nutshell you can perform the same steps on Mac or Linux.
To be able to run android build, we need to have an Android Virtual Device. Pretty easy way to get it is to install Android Studio and create a Virtual Device from there.
Download and install Android Studio and follow official guide: https://developer.android.com/studio
In my case I have it under this path C:\\Program Files\\Android\\Android Studio. You need to edit your environment variables:
Create a JAVA_HOME variable that points to ...\\Android Studio\\jbr to your. Create ANDROID_HOME variable that points to C:\\Users\\username\\AppData\\Local\\Android\\Sdk Add ...\\Android Studio\\jbr\\bin to Path system variable.
In the Android Studio go to More Actions → Virtual Device Manager → Create Virtual Device. Pick any phone you like (I picked Medium Phone API 33), and choose any OS image (I chose Tiramisu).
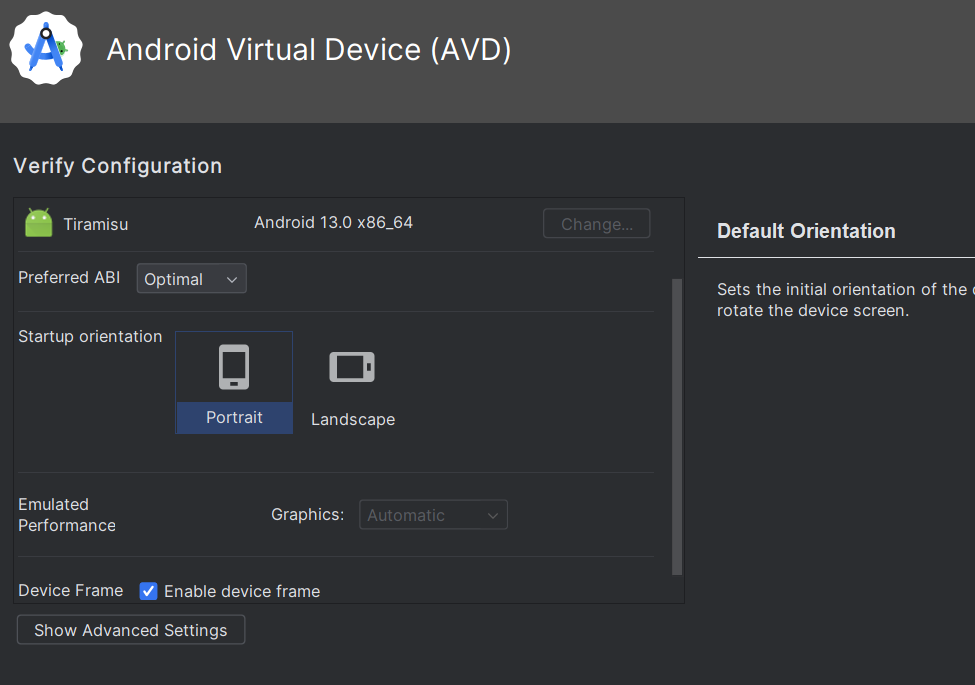
Launch the virtual device:
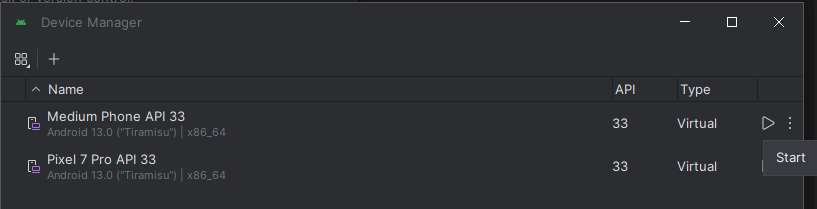
Now, go to React Native application and run this command:
npx expo run:android
The app will be loaded in Android Virtual Device
Run IOS build
To be able to run IOS build, we need to have an XCode Phone Emulator. Pretty easy way to get it is to install XCode and create an Emulator from there.
Download and install XCode from the App Store, or from Developer Center (if you need a lower version, for example your OS does not support the newest from App Store).
Then install Watchman
brew update
brew install watchman
When you launch XCode, Go to Settings -> Locations, select the most recent version of Command Line Tools.
Go to XCode → Open Developer Tools -> Simulator, and launch phone simulator.
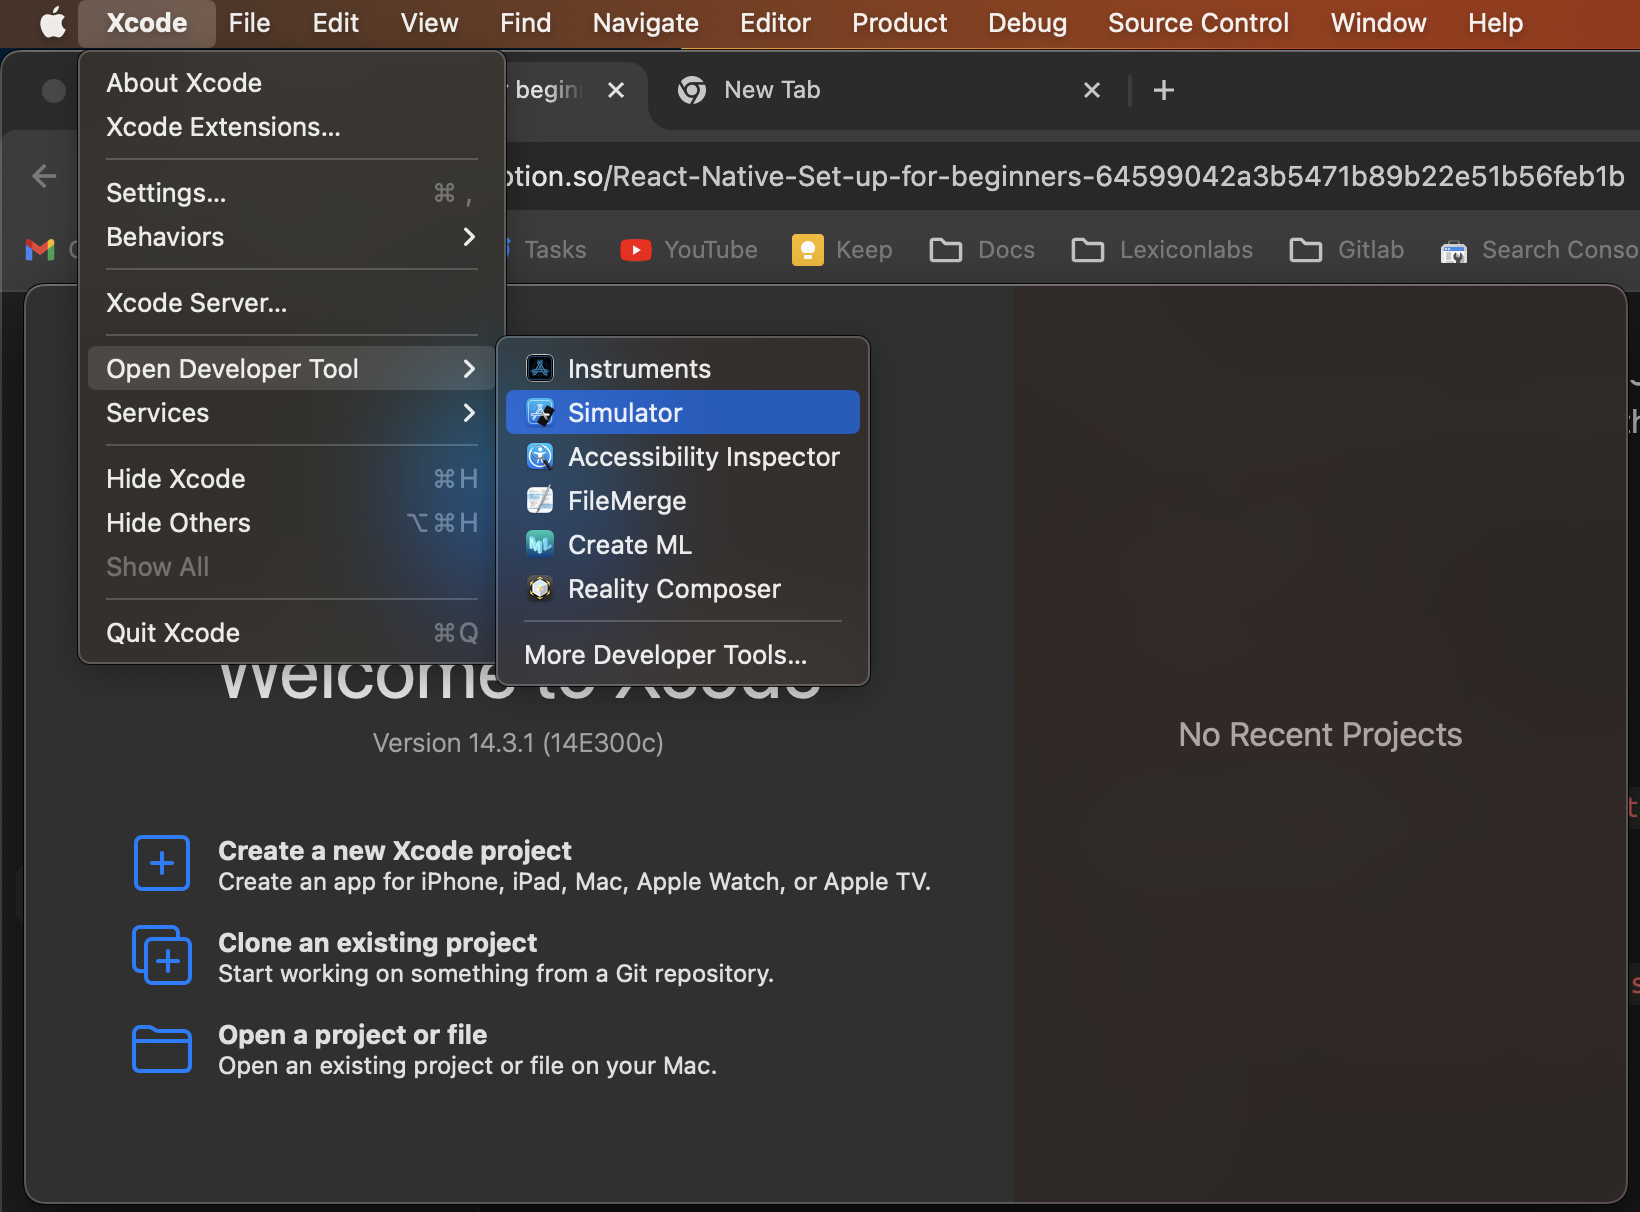
Now run
npx expo run:ios
The app will be loaded in the Simulator.
Conclusion
In this guide we discovered what is needed to start developing React Native applications for beginners. We have set up the React Native project using Expo Framework with Managed workflow. We launched it using Expo Go app and using native tools: Android Virtual Device and IOS Phone Simulator. All these 3 support hot reload and good development experience.
In the next articles we will talk about Google Sign In on React Native apps.
Comments